


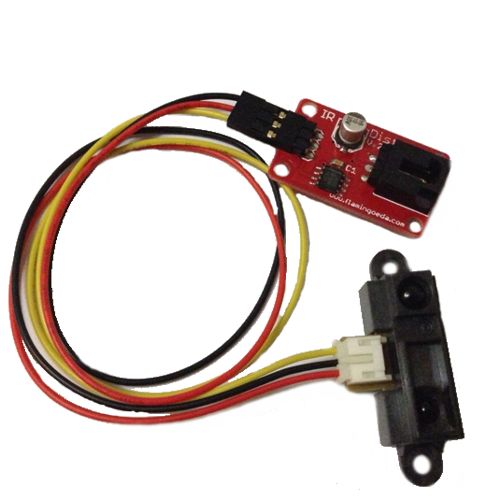
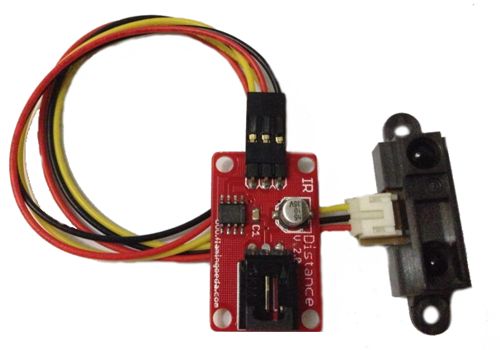
Arduino Sharp IR Range Measurement GP2D12 Kit
We can build electronics projects just as easy as piling bricks. Arduino and community have made the programming much easier than ever before. How about some elixir on hardware part? Maybe it is not yet convenient to make complex interfaces, but we can at least start from the most commonly used modules.
By using electronic bricks, you may connect Arduino compatible boards easily with various digital, analog and I2C/Uart interfaces. These the breadboard-less firm connection are prepared to extensive modules like poteniometers, sensors, relays, servos...even buttons, just plug and play.
Each terminal module has buckled port with VCC, GND and Output, which has corresponding port on the sensing board, with a plain 2.54mm dual-female cable you may start playing already. Buckled brick cables are like cement for bricks, make the connections easier, secure and more professional looking.
It is very interesting Electronic Brick Module
This module can be used with Arduino Special Sensor Shield V4.0.
You can do some simple design around it,it support“plug and play”.
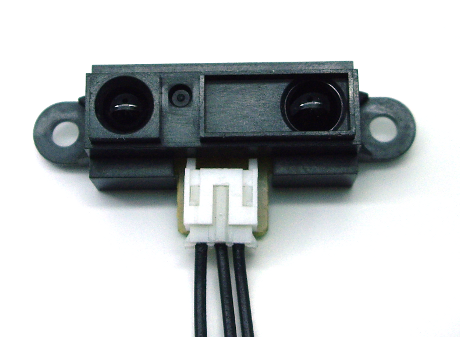
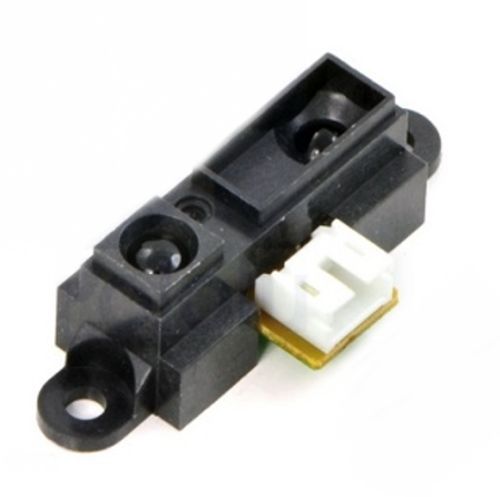
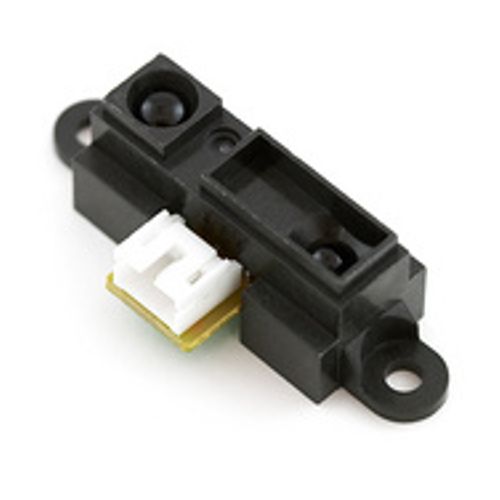
Arduino Sharp IR Sensor - GP2D12
1、Measuring range : 10 to 80 cm
2、The maximum allowable Angle : > 40 °
3、The power supply voltage : 4.5 to 5.5 V
4、The average power consumption : 35 mA
5、Peak power consumption : about 200 mA
6、The frequency of updates/cycle : 25 Hz/40 ms
7、Analog output noise : < 200 mV
Outline Dimensions :
.jpg)

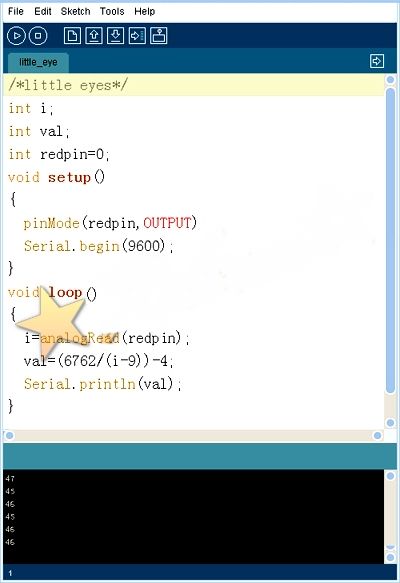
Test Code : ( Just for referring )
int i;
int val;
int redpin=0;
void setup()
{
pinMode(redpin,OUTPUT);
Serial.begin(9600);
}
void loop()
{
i=analogRead(redpin);
val=(6762/(i-9))-4;
Serial.println(val);
}
Join our newsletter today, to get latest product information and promotion code.
 |
 |
|

|